DIY Shou Sugi Ban Wood Burning
DIY Shou Sugi Ban Wood Burning
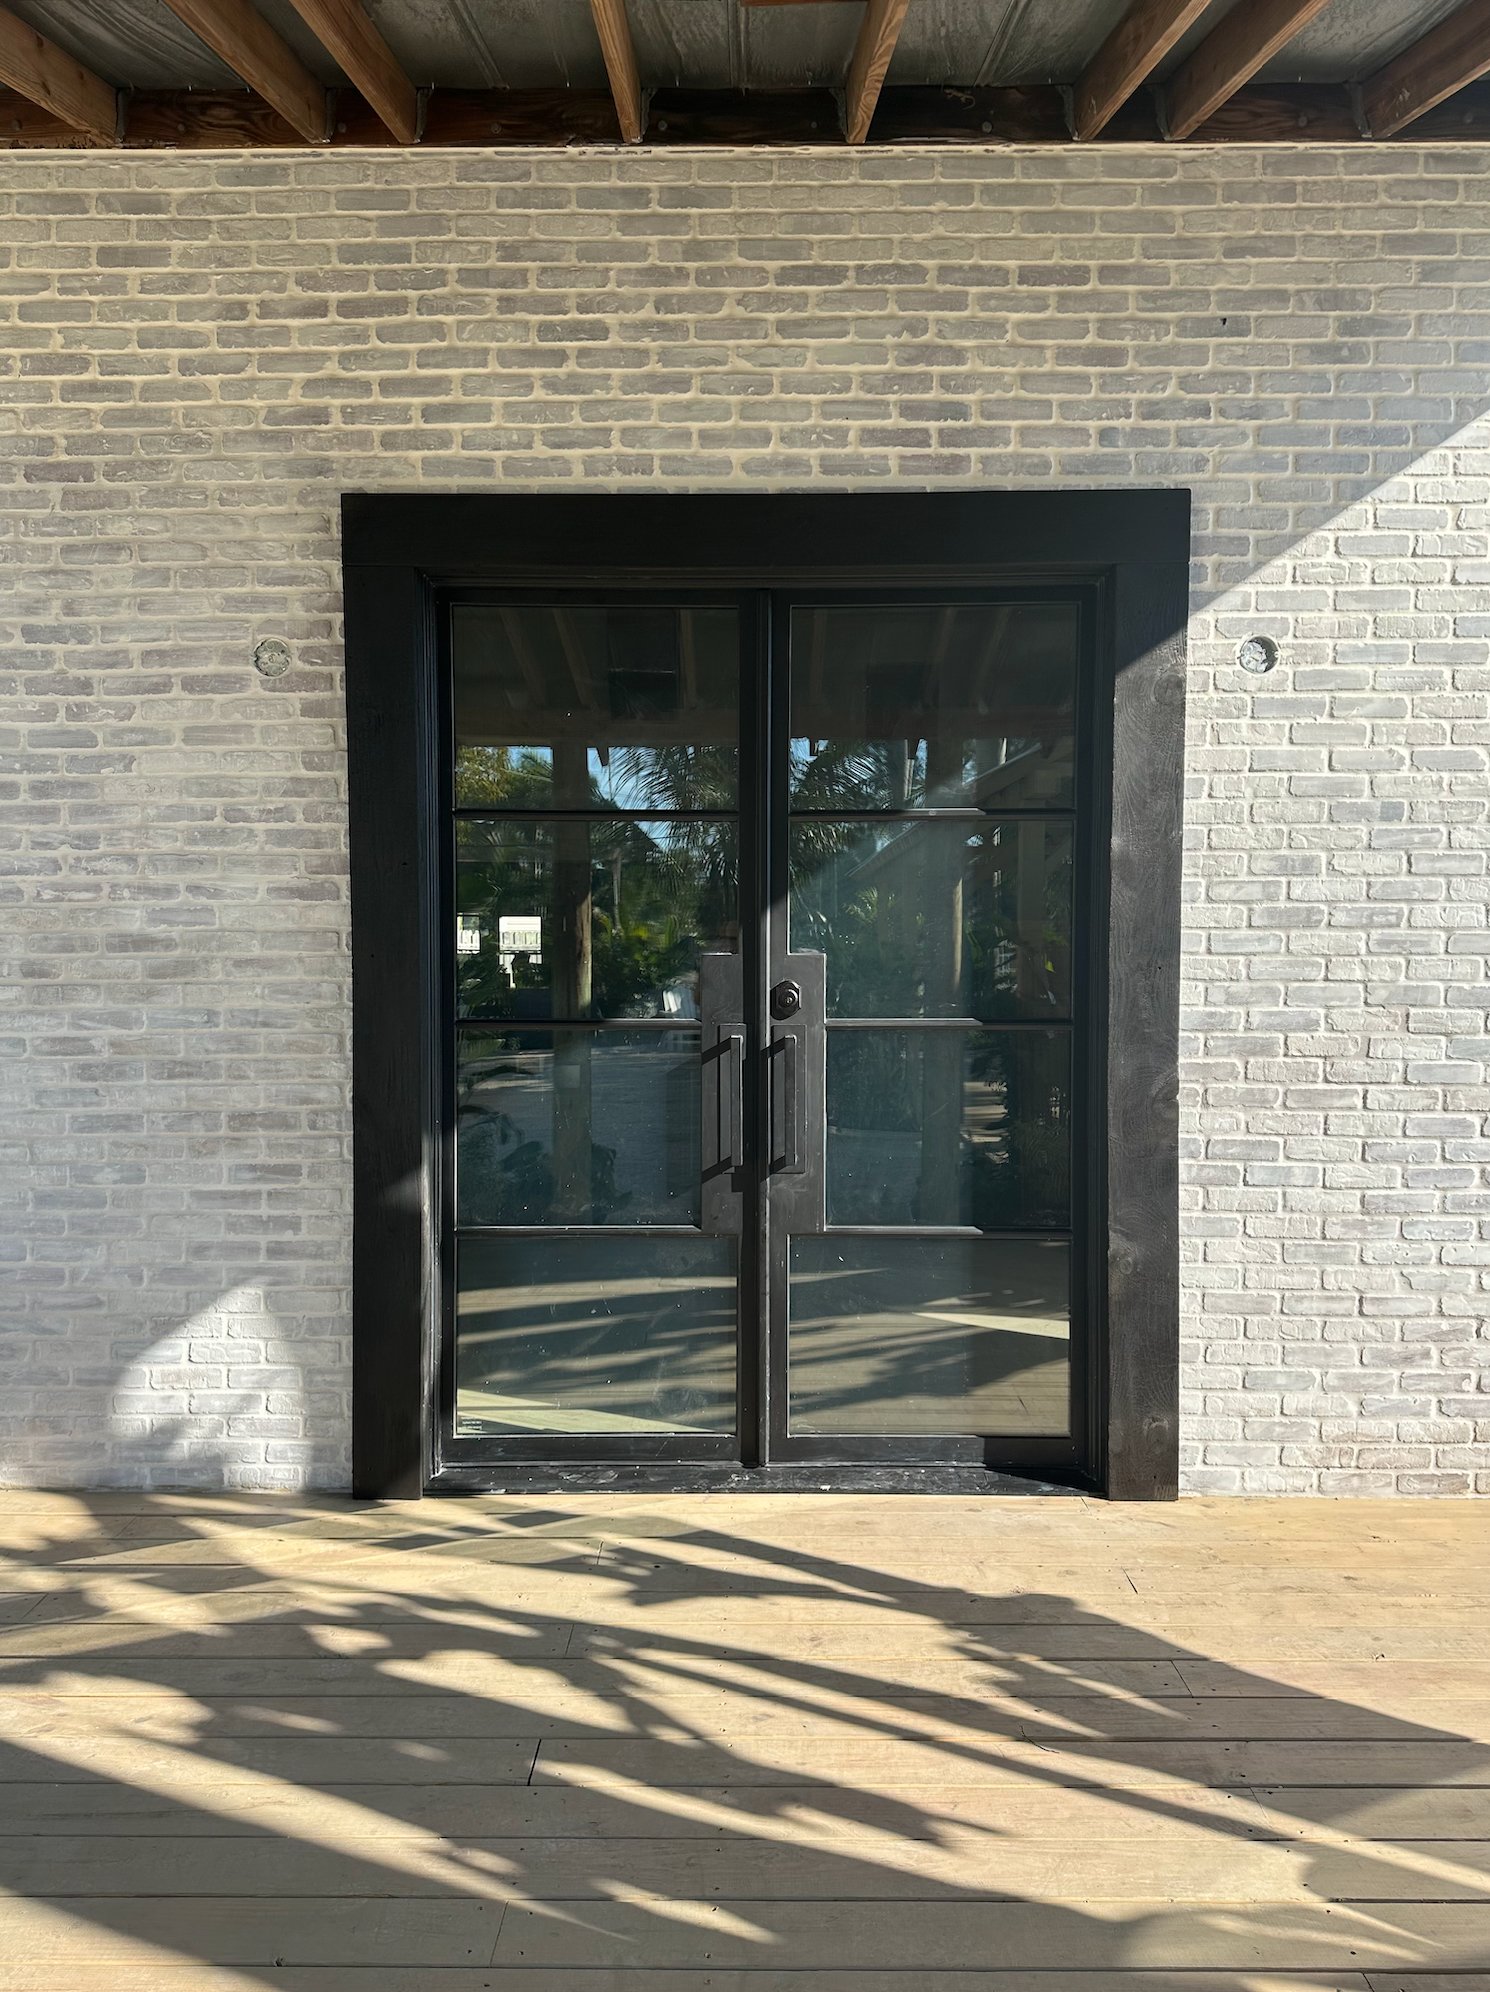
When I saw this technique, I knew I had to incorporate it into the Merc. Shou Sugi Ban Wood Burning is the art of torching the wood, just enough on the surface that it chars, but doesn't burn. And the look and texture are incredible!
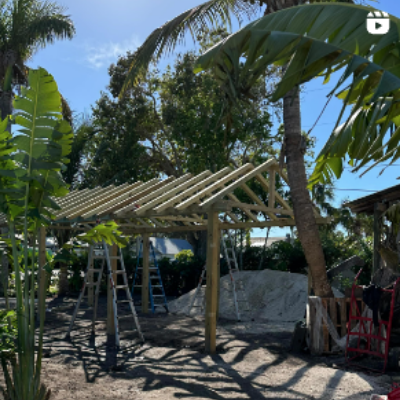
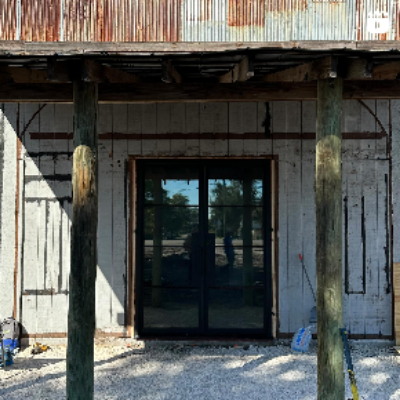
But FIRST, where we started:
Let's burn some wood! First things first: always wear safety gear!
Via this source: Certain types of wood work better with the wood preserving technique than others, and they all come at different price points.
When choosing your wood, you ideally want to choose a wood that is lighter and more porous for Shou Sugi Ban. Traditionally Japanese cedar , also known as Shou wood, is used for Shou Sugi Ban because of its ability to achieve a deep burn. However, there are many different types of wood you can use to get the charred finish of Shou Sugi Ban.
Common woods used for Shou Sugi Ban are:
- Cedar
- Spruce
- Pine
- Oak
- Hemlock
- Maple
The end result color and look will vary depending on the wood species that is used. The color of ShouShou Ban can range from a lighter gray all the way to a deep black.
You will need:
- Wood
[ stating the obvious here ].We used 1 x 8 pine. Cedar is suggested wood for this technique but pine is a good [ and cheaper! ] alternative.
Surface burning wood makes it more water resistant due to the cell shrinkage caused by the burning process.
- Safe outdoor space to burn
- Propane tank with torch
- If you don't want to do the torching, this stain will give you a similar look. Not as textural or protected, but it works well!!
There are different finishes to this technique. You can leave the char on it, but it tends to be a little more fragile. Or you can brush with a bristle brush to get a smoother finish. We tried both to see what we loved and after brushing you could see a bit of the wood show through so we ended up doing the full char on all but it's totally a personal preference! With the proper torch, the process is super quick and super fun. The result is pretty matte, even though in video it looked a bit shinier. Love the matte look, it's modern but so cool and unique. Make sure you torch both sides, for an even char for the wood.
Fun facts: Charred wood will last 80 to 100 years. It needs to be re-oiled every 10 to 15 years, but the burning makes it wayyy more fire resistant though which is amazing! PLUS it prevents termites! Win/win!
***Tip for hanging and creating a seamless look: Have a can of black spray paint for any background seams that may show. Instead of painting the entire wall black, this is quicker and saves paint and time!
We hung the wood vertically completely up the wall [ because I couldn't get enough of it ] and it looks soooo good. We may have gotten excited and hung prior to sealing it, so seal the wood with a natural wood oil [ both sides! ] and then hang, don't be us. BOOM, the garden wall is officially complete. I can't even begin to describe to you how much I love it. And the plants against the wood? OH MY HEAVENS, it's just so much good.
We are just waiting on the permits for the interior and then once those come through, it's full steam ahead. Who's coming to the Merc?!
